Finale: Skybound Avatar and Tyrant's Star
September 26 to the end. A month of free time, the flying palace, and the last dungeon, which you cannot leave.
This walkthrough names bosses, dungeons and who joins your party. It skips the plot twists: when the story takes over, it says "story scenes" and moves on.
9/26: the last month opens
Skybound Avatar Conquest starts, along with The Edge of Glory, new bounties and the late optional content: the Trials of the Dragon, the Disgraced Ruins, the Manor of the Ascendant, the Abandoned Path, and the top of the Coliseum. The Skybound Avatar is reached by skyrunner.
The Skybound Avatar is the second-to-last dungeon, and clearing it drops you back on the ground with time left. A good plan: clear it early, use its strong enemies to level, finish your Followers and side content, and go to Tyrant's Star last.
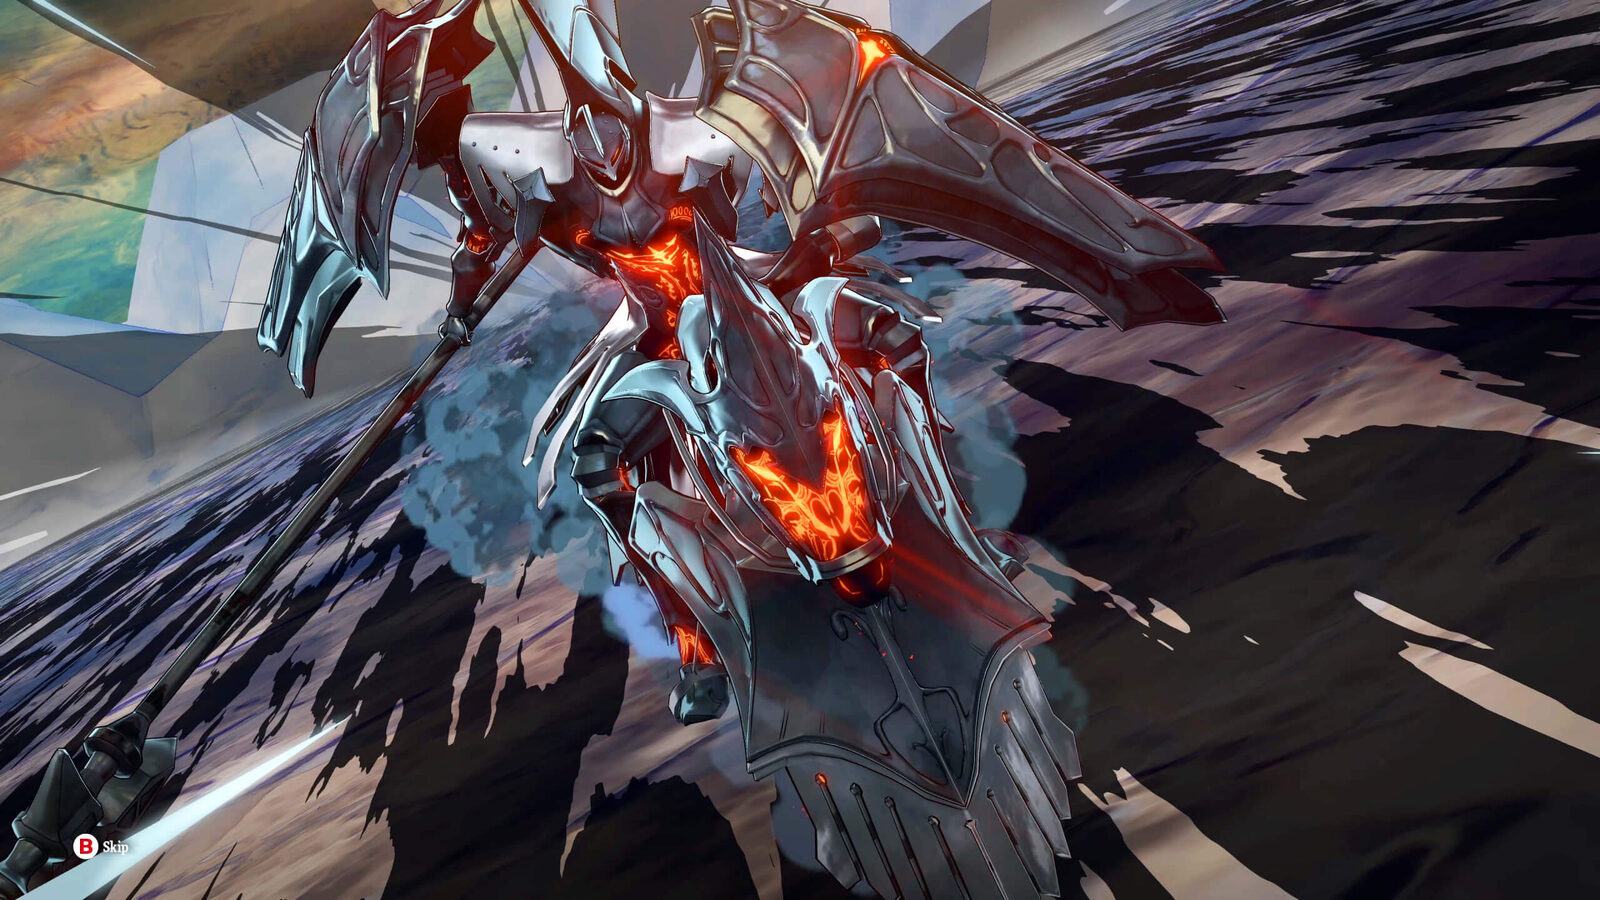
Skybound Avatar
Front Parlour
The stairs are blocked; you have to go through the Royal Garden. Do the west side first.
- WestGold Medal by the bushes; south past a low-level gargoyle for the Magla Candelabra; north, right-hand room: Great Spirit Dust. The left room is full of enemies.
- EastBlue orb: Regalith Silver; chest: Sealed Gauntlets; south of the grass: Hero's Leaf of Light. North, some gargoyles are enemies. Pristine Looking Glass in a dead end, a Proletariat Abacus behind a Homo Luma, Calendula Glass by the door, Dragonblood Sap at the south end of the last room before the Royal Garden door.
| Enemy | Lv | Weak to | Careful |
|---|---|---|---|
| Homo Malhela | 64 | Light | Reflects wind, absorbs dark |
| Wrathwrought Gargostartz | 63 | Wind | Blocks slash and pierce |
| Platinum Homo Tenta | 62 | none | Absorbs all six elements; hides in grass |
| Homo Luma | 69 | Fire Dark | Reflects light; ambush it, it raises its evasion |
| Kaprasarto | 65 | Lightning Dark | Blocks ice, reflects light |
| Raging Corvosta | 57 | Pierce | Reflects wind |
| Spekto of Fury | 50 | Ice Light | Reflects physical, absorbs fire |
| Obsilas | 64 | Ice | Blocks fire |
Royal Garden
- Forced fight: Homo Flaemo (Lv 65)Weak to lightning. It instantly KOs anyone not at full HP and can cause Forget.
- Two Human bodiesMud slows you and Homo Flaemos patrol it. Each side ends at a Voidblack Homo Orelon (lightning; its Game of Death KOs anyone injured). Beat both to clear the Humans.
- East side mimicGet the Divine Light Gloves (block physical ailments) early.
- NorthSave, then the Grotesque Chimenzahn. The stairs open after it.
Grotesque Chimenzahn
Weak: Ice Wind
Resists: blocks Lightning, absorbs Fire
Watch for:
- Keeps Breath of Battle up.
- Megidola (almighty), Boatona, Gabouat, War Cry.
- Heals with Deiamahan.
How to win:
- Ice and wind for icons; no fire or lightning.
- Defensive buffs for the almighty damage; strip its buffs when you can.
Palace Corridor and Banquet Hall
- The door puzzleDoors directly opposite each other link together. Progress is through doors with no partner across the hall. Once solved, every door stays open.
- MoldilichIt teleports into hallways. Weak only to strike; reflects five elements.
- Banquet HallA five-minute timer that keeps running during Squad Battles. Its Trance Crystals are weak to pierce and light (the Prince's Radiance helps).
- LeogrophonPut everyone in the back row: it enrages if anyone is in front. Weak to pierce; reflects wind. Dekunda after Deadeye Stance and Wing.
- GupdetronWeak to pierce and ice, absorbs fire. Guard when it Charges, before Slam Shatter.
- Magla Hollow to the eastLeads to Melancholia Zorba.
Melancholia Zorba
Weak: nothing
Resists: Offence Form: none. Defence Form: resists everything but almighty and repels slash, pierce and strike.
Watch for:
- Mamudodyne (dark, all) and Gakandeon (lightning, all).
- Sorrow Curse (Anxiety) and Madness Curse (Rage).
- Giant Scythe: heavy almighty on everyone, worse on anxious targets, sometimes twice in a row.
- Defence Form: All Reset (strips your buffs) and Heat Riser.
How to win:
- No dark-weak party members.
- Cure Anxiety and Rage immediately.
- In Defence Form, use almighty attacks only; physical-only characters guard or use items until he switches back.
In the long scene with Louis after this fight, do not agree with him.
You are returned to the ground with time left.
Before the last dungeon
- Finish what you wantFollowers, Royal Virtues, side quests, the dragon trials, the Coliseum. After Tyrant's Star there is no coming back until the credits.
- The night before you goTalk to every maxed Follower (red handshake icon in the Followers menu). Each gives a key item that raises a stat for that Follower's Archetype line, e.g. Maria's charm gives +5 Magic to the Healer line. They carry into New Game+.
- Rest at the Grand Trad innGallica gives you hers, and the day turns.
Tyrant's Star
Once you enter you cannot leave. Neuras waits at the entrance as an inn and a shop (with MP items), so you can rest and restock inside.
Most of the dungeon is optional. Skipping it takes you to the final boss sooner, but the boss gets much stronger for every sub-boss you skip.
| Area | What is there |
|---|---|
| Melancholia Threshold | High-level enemies; a Moldilich that does not respawn. Elevators at dead ends lead to Diabolus Gorleo (northwest), Diabolus Avades (north) and Diabolus Butera (southeast). Exit in the northeast. |
| Melancholia Depths | Seven Trance Crystals in three sets (they respawn: good for grinding), and Diabolus Jaluzo (southwest), Diabolus Sabara (northwest), Diabolus Margo (southeast). Exit north, next to a save point. |
| The final area | Entering locks you into the last scenes and fights. |
The Diabolus bosses are harder versions of the story bosses, and the same tactics work: wind on Gorleo's parts, break Avades's Shell, pierce Jaluzo's Eyes, lightning on Sabara and strip its Legs, read Margo's aura or use almighty. Butera is weak to ice; clear its Sandstorm debuff with Dekunda or a Reset Talisman. Each one drops a strong weapon.
If you feel under-levelled, grind the Threshold's field enemies and the Depths' Trance Crystals to about level 75 before the final area. The Argent-Crown and Or-Crown Homo Tentas (Lv 88) reflect all elements or all physical; almighty gets through, and they drop reflect accessories.
Archdemon Louis Charadrius
Archdemon Louis Charadrius
Weak: nothing
Resists: no weaknesses or resistances: crits and Junah's weakness-making skills are your extra icons
Watch for:
- Quadwing Sweep (row), Quadwing Pierce (2-4 hits, all), Octowing Crush (all).
- Single-target Hamadyne, Mudodyne, Cyclone, Blizzaton.
- Phase 2 (~50%): Anxiety Convergence, a guarded charge you must break with damage in one turn, or Anxiety Explosion hits everyone several times.
How to win:
- Bring nobody weak to light, dark, wind or ice: each weakness hit hands him icons.
- Royal Archetypes: Hulkenberg's Royal Knight repels non-almighty hits; Heismay's Royal Thief dodges a lot.
- Save your burst for the turn he starts Anxiety Convergence.
- Debuff him: he wastes turns on Dekunda.
After this fight, side with the protagonist against More. A fight with More follows.
Destroyer Charadrius (final boss)
Two phases; your HP and status carry over from the first to the second.
Destroyer Charadrius
Weak: nothing
Resists: phase 1 masks: Ire takes less physical (use magic), Joy takes less magic (use physical), Mirth takes a little less of both
Watch for:
- New Dawn's Sacrifice: puts a puppet in a mask. Destroy it next turn or the mask fires a big attack.
- Terror Overflowing twice, then Great Reset: severe almighty damage and Anxiety.
- The Culled World: raises your Anxiety chance; crits, weakness hits and misses can trigger it.
- Phase 2: High Pressure removes some of your icons next turn; A Tribe Condemned names a race, then KOs that party member next turn (it cannot be stopped).
How to win:
- Destroy all three masks; vary your damage types.
- Kill every puppet the turn after it appears.
- Cure Anxiety immediately. If you have unlocked every Protagonist Archetype, the King's Sovereignty sword prevents Anxiety for the whole party VERIFY.
- Keep HP topped up and keep buffs and debuffs going even though he strips them: it costs him icons.
- When he names a race, have a revive ready for that character.
Beat the final boss without defeating any Diabolus sub-boss and it gets eight icons a round plus their skills. Winning that way unlocks the Star Shatterer trophy. There is no other reward.
After the credits
The epilogue lets you walk Grand Trad and talk to your Followers; then the Cathedral scenes and credits. Save the Clear Data afterwards: New Game+ needs it, and your Follower key items carry over.