Grand Trad: The Royal Tournament Begins
June 11 to June 28. Hulkenberg joins in the Mausoleum, the Regalith Grand Cathedral must fall by 6/21, and the capital opens up.
This walkthrough names bosses, dungeons and who joins your party. It skips the plot twists: when the story takes over, it says "story scenes" and moves on.
6/11: the tournament and the deadline
Story scenes in the capital start the Royal Tournament and give you the main quest Necromancer Takedown. The counter starts at 10 days on 6/12: clear the Regalith Grand Cathedral by 6/21 or it is game over.
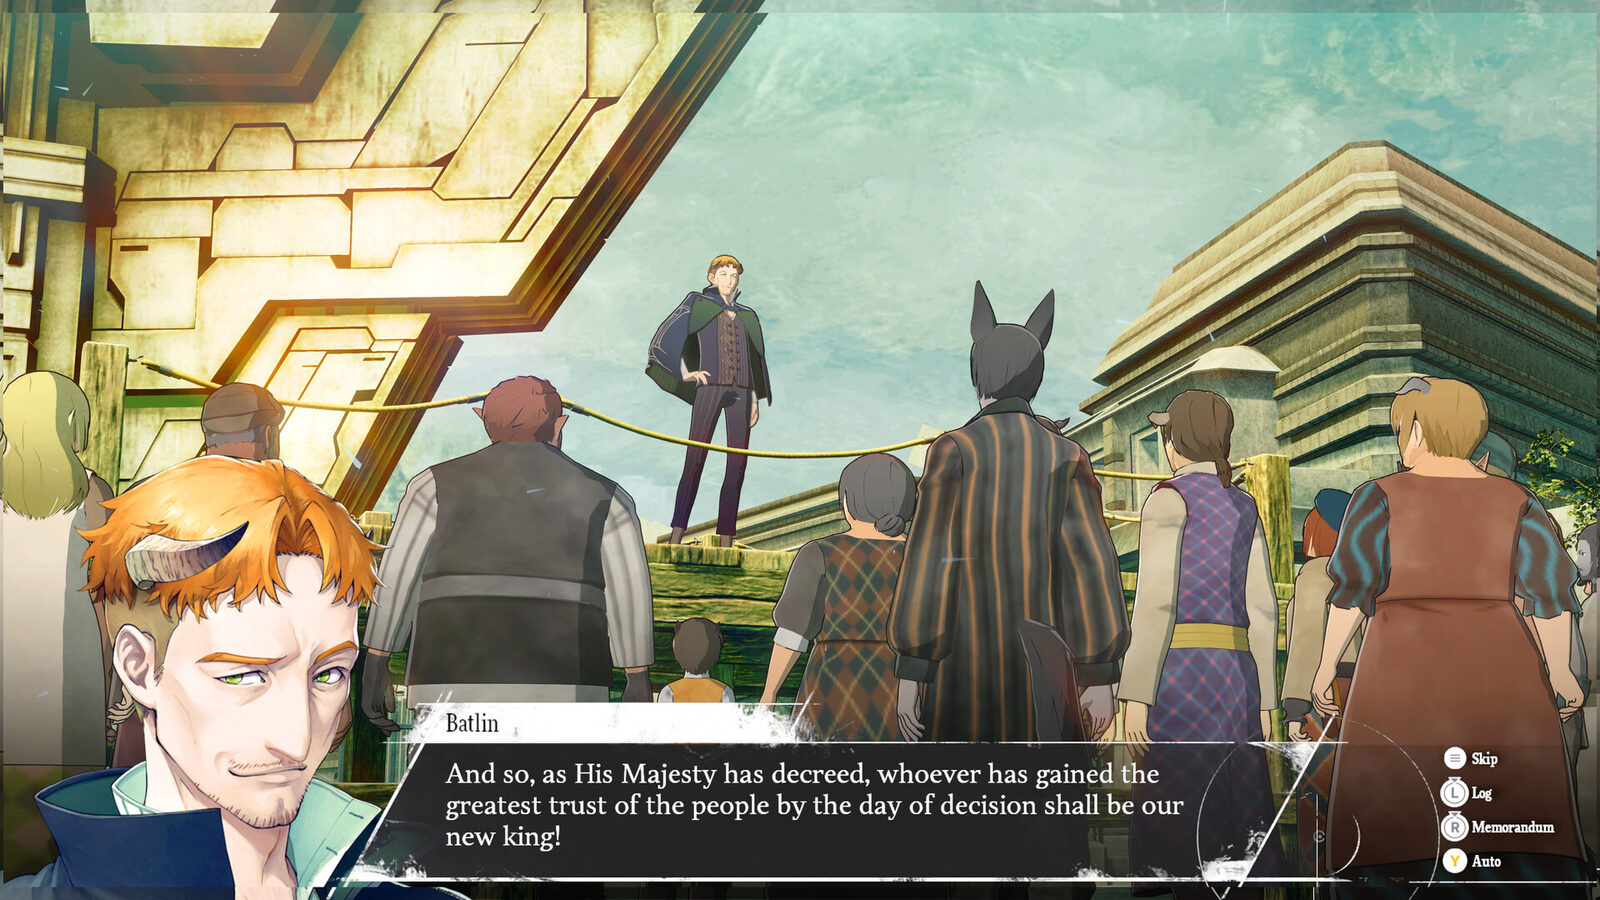
Grand Trad Mausoleum: Hulkenberg
The Cathedral's front doors are blocked. A former royal knight tells you about a second way in through the Mausoleum, in the northwest corner of the Grand Cathedral district.
- Enter the MausoleumIgnore the locked doors in the first corridor. They open in later quests.
- Take the ominous door at the far endIt starts the boss fight.
Undead Grius
Weak: Light
Watch for:
- Phantom Dance: weak slash damage to the whole party. His strongest move.
- Mocking Phantasm: slash on one character.
How to win:
- Hulkenberg awakens as a Knight before the fight, and Synthesis skills unlock.
- Have Hulkenberg use Knight's Proclamation so he attacks her, which mostly stops Phantom Dance.
- Hit him with Hama (light), ideally from a Healer.
- Synthesis uses several turn icons; you do not need it here.
Reward: Hulkenberg's Bond (Knight Archetype for everyone) and Gallica Bond rank 2
The next day is your first free time.
Free time before the deadline
You have roughly a week. Use part of it, then clear the Cathedral with days to spare.
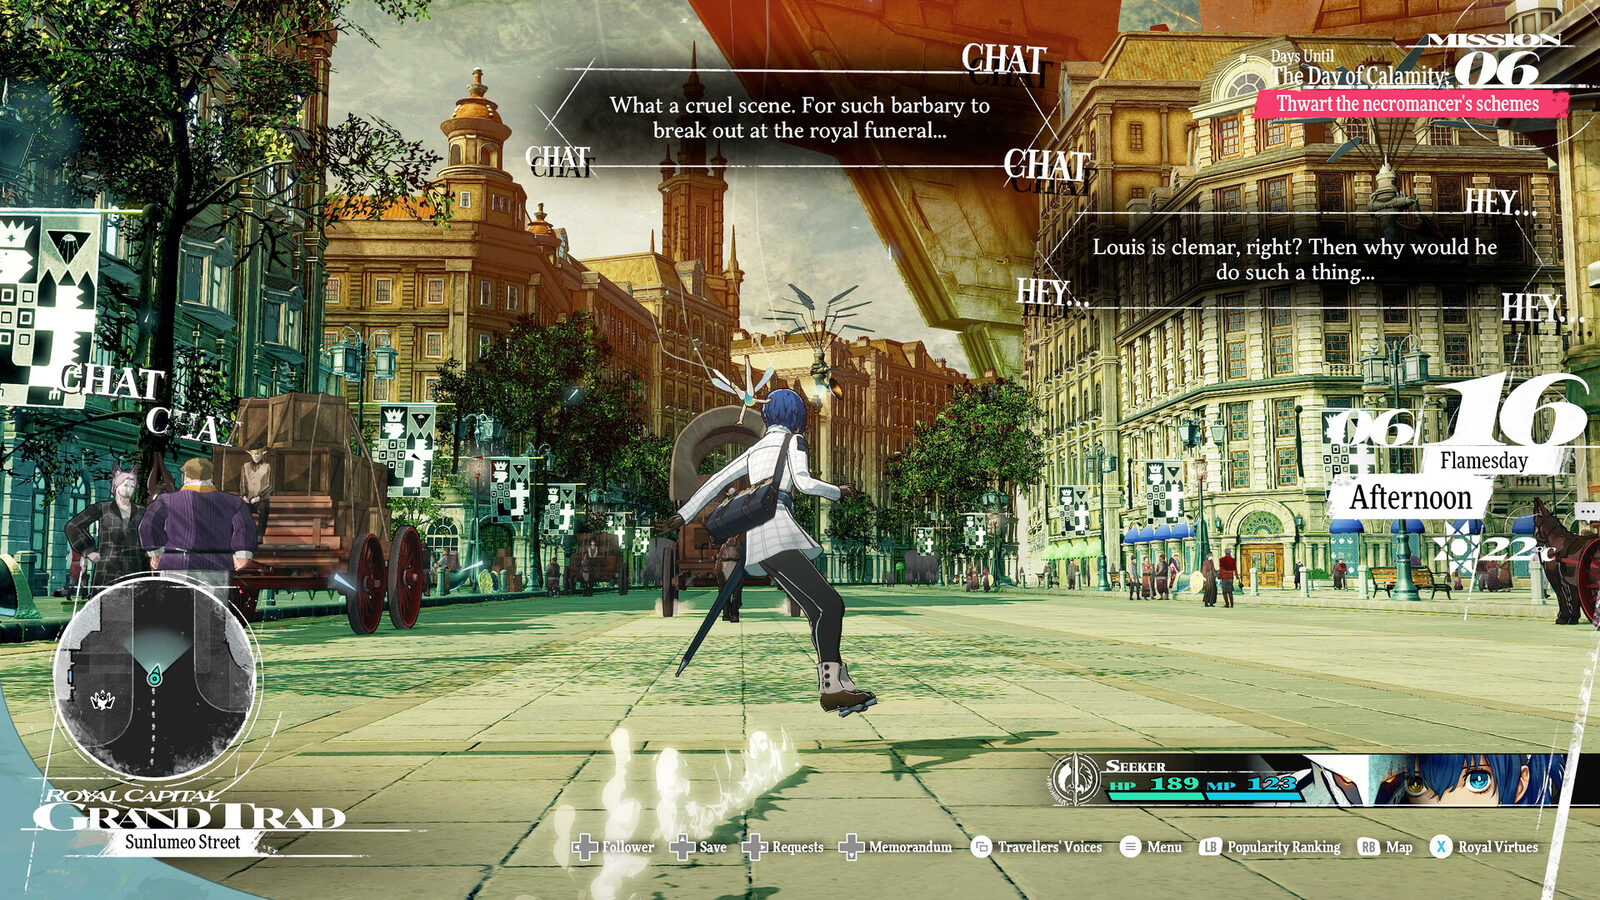
| Do this | Where | Why |
|---|---|---|
| Bounty board and side quests | Grand Trad | Money, Virtue points and Archetype unlocks |
| A Bullish Embargo (Belega Corridor) | Grand Trad | Unlocks the Merchant Archetype and the igniter shop. Hard at this level: see below. |
| Man's Not-So Best Friend | Tradia Desert (from 6/13) | A desert side quest; there is a Gold Beetle out there too |
| Help the Hushed Honeybee | Sunshade Row inn | Easy Virtue points |
| Followers | Around the city | Start Maria and the others; their ranks unlock Archetypes |
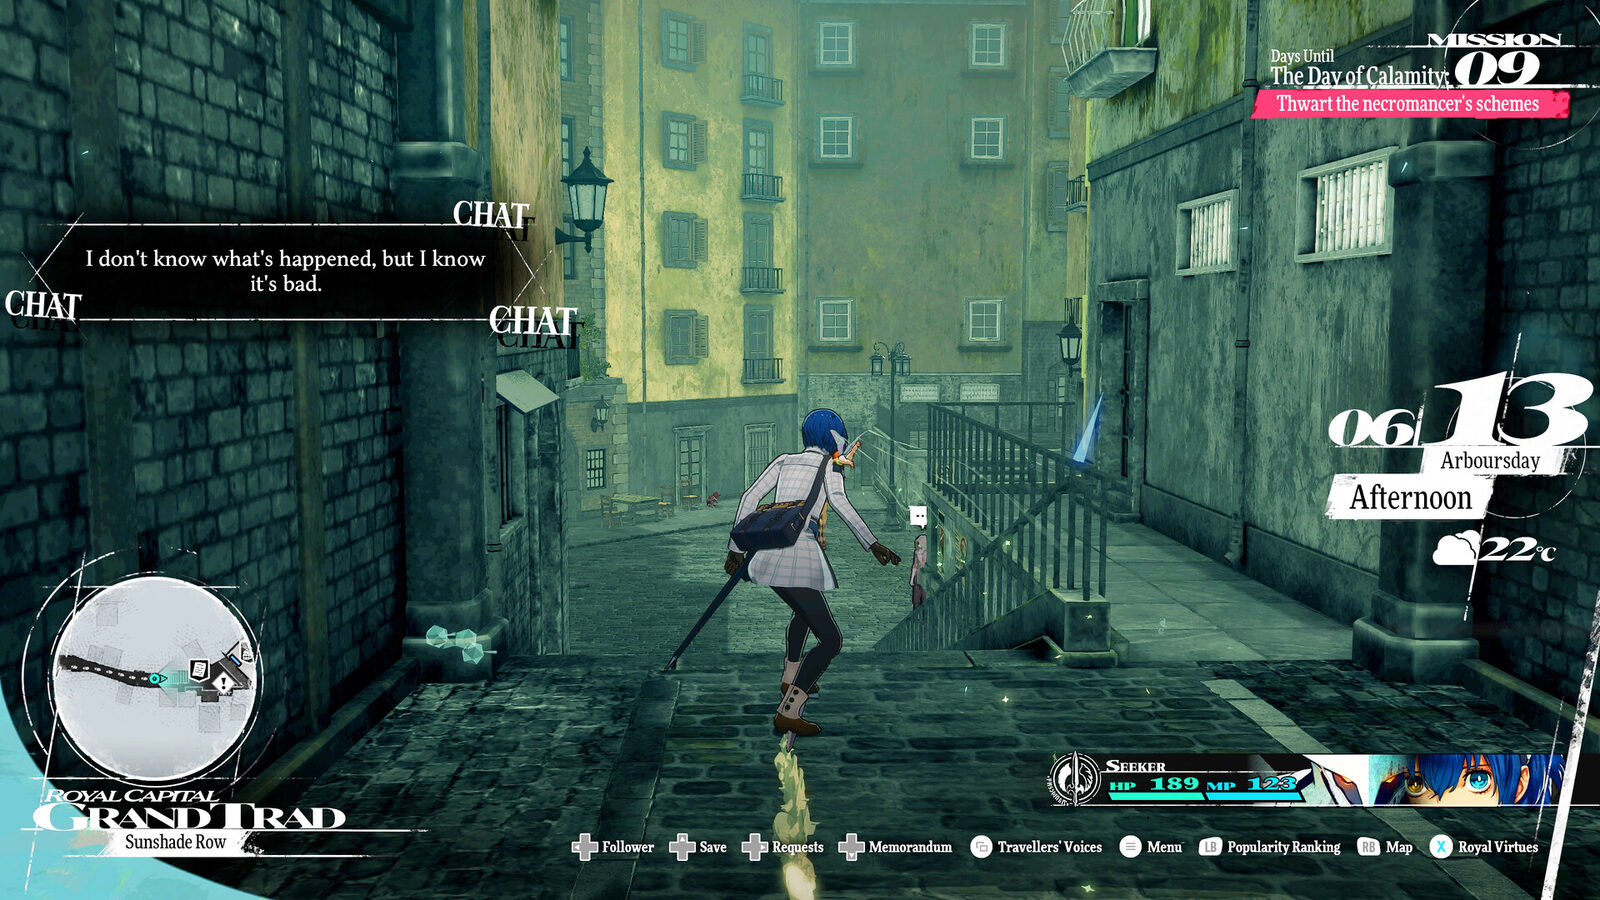
Optional: Belega Corridor
- First floorScintillating Marble in the southeast corner of the first big room. Goborns to the east, then a Balm of Life. North past the Talkative Tooth NPC and through a hole for Fairy Dust; kill the Hexer Goborn first.
- Second floorThe NPC by the pillar gives 3 Stunning Arrows. Strength Incense to the west, Onyx and the Damascus Vest chest past the NPC, a Shiny Stone behind barrels in the southeast.
- Dancing Goborns roomGreat Fairy Dust (east) and Hero's Incense (west). The hole by the Incense leads to a Gold Beetle, a Witch's Earring and an Aquamarine.
- Third floorKill the Blue Elmenta if you can catch it (big money and MAG). Through the north-wall hole: Imp-Ending Pike (Knight weapon) and Guard's Chausses.
- Bottom floorPlateau the cat is a save point with a return-to-town option. The door leads to the boss.
Goborns become enraged and gain extra actions when a Mage or Healer is in the party. Inherited Mage and Healer skills are fine.
Grotesque Guptauros
Weak: Pierce Ice
Resists: goes berserk if a Mage or Healer is in the party
Watch for:
- Slam Shatter: heavy damage to the whole party.
- Charge (usually turn 3), then Frenzy: multi-hit on everyone that can wipe anyone below full HP.
How to win:
- Aim for level 14 or 15.
- Run a Seeker, Knight and Warrior, with someone carrying an inherited Medi (Healer rank 3).
- Knight's Synthesis Jump Thrust hits its pierce weakness and lowers its defence for 3 turns.
- Give others Blizz for the ice weakness.
- Guard the turn after it uses Charge.
Reward: Falchion, the Merchant Archetype and the Grand Trad igniter shop
Regalith Grand Cathedral (main dungeon)
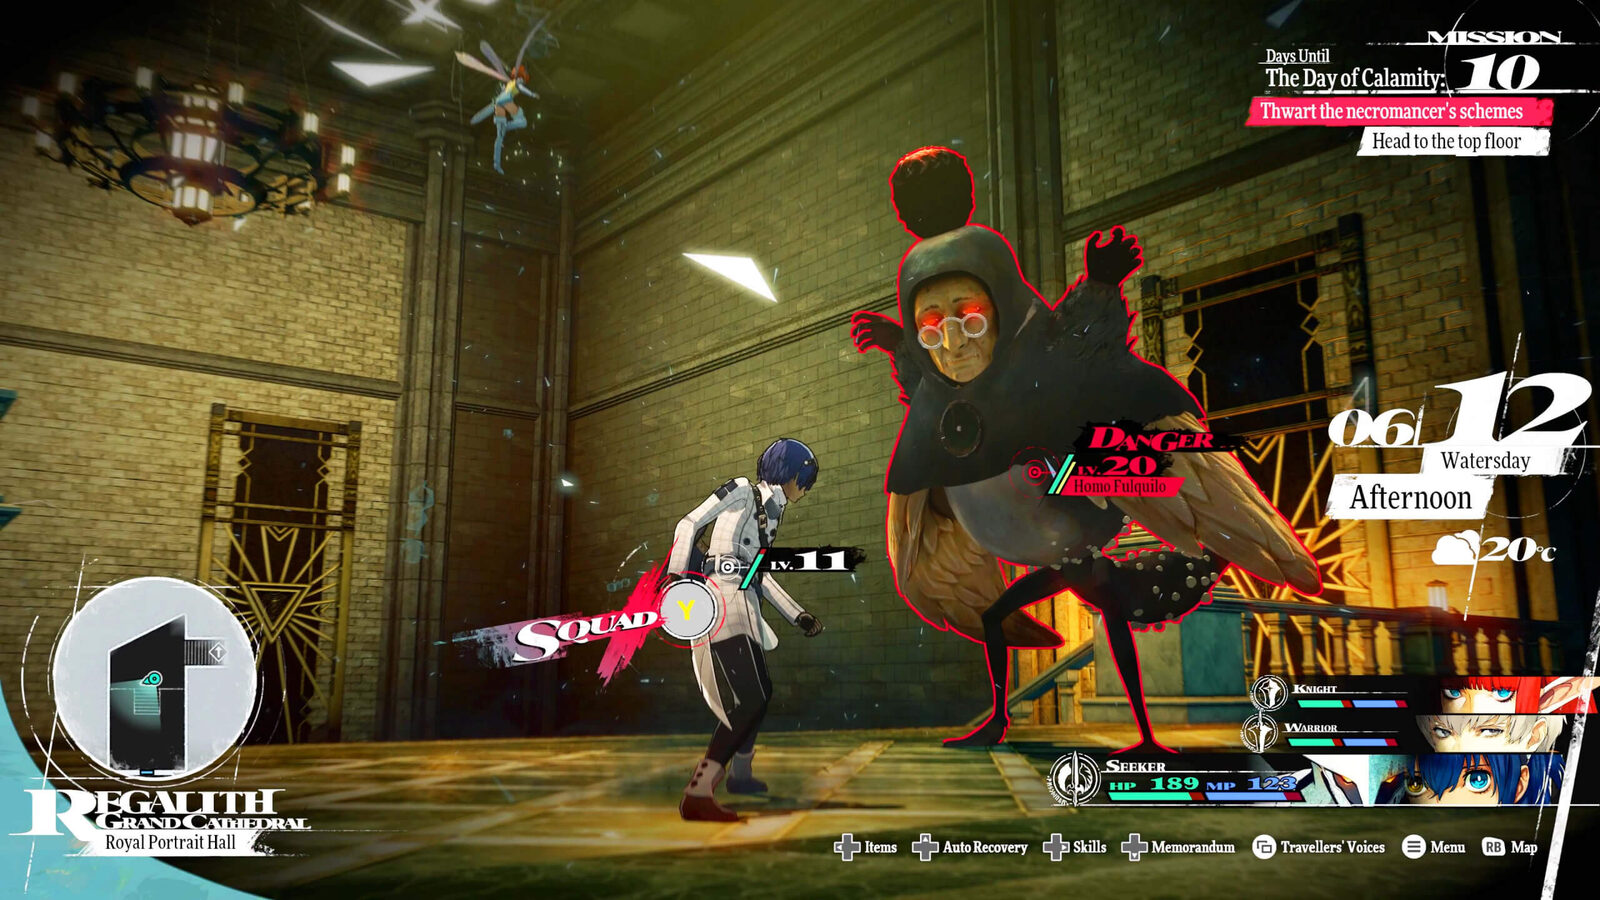
- Prayer ChamberStart on floor 2 and save at the Magla Hollow. Climb to the big room on floor 3 for a scene.
- Free the hostages (A Friend in Need)The hostages are behind a locked door on floor 3. The Chamber Side Room Key is on a table in the room with the sleeping guard. Freeing them completes the quest, unlocks the Brawler Archetype, and the chest has Exorcist Knuckles.
- North stairsWar Wulhas (weak to fire) guard them. Fight them one group at a time or sneak around by the southeast stairs. Take the spiral staircase up.
- Servant's ChamberSecond Magla Hollow. Crawl through the small gap to a dead soldier for the Guest Room Key. Destroy the Trance Crystal, open the doors and fight the walking corpses (fire, light). The Pale Monk gives you the Treasure Chest Key; the chest holds the Sanctified Amulet.
- Altar ChamberThe Traumatized Soldier gives the Altar Chamber Key. Drop through the gap in the railing onto the crates for a Silver Spatha, then beat the Whiteclad Soldier mini-boss.
- Reception ChamberUse the ladders and walkways to reach the giant golden statue. Put the Sanctified Amulet on its altar to lower it, then cross its arms to the Exorcist's Cassock. Beat the five Spekto (light) to break the crystal and free the lift.
- The liftThree Whiteclads wait: a Mage Captain (weak to pierce) and two Sword Captains (weak to ice). Save, then ride up.
- Royal Portrait HallFollow Zorba through the Sceptre Chamber, up the Heavenly Staircase, and save at the Plateau Mirage before the last door.
| Enemy | Lv | Weak to |
|---|---|---|
| War Wulha | 15 | Fire |
| Mad Watchdog Hundo | 9 | Fire Ice |
| Morneto (civilian, soldier, noble) | 9 | Fire Light |
| Captain Malmorta (bow, spear, sword) | 12 | Strike Light |
| Spekto | 17 | Light |
| Louisian Mage Captain | 16 | Pierce |
| Louisian Sword Captain | 16 | Ice |
| Cursewight Magileto | 15 | Strike Light |
| Azure Homo Tenta | 15 | Pierce Fire |
| Lifewrought Gargoz | 14 | Wind |
Boss: Zorba
Zorba the Necromancer
Weak: nothing
Resists: Fire, Ice, Lightning, Wind; takes nothing from Dark. Light works. His Corpsethralls are weak to Fire Light
Watch for:
- Corpse Puppetry: summons a Corpsethrall, up to two at once.
- Madness Curse: enrages a Thrall (hits harder, takes more damage).
- Bondage Curse: paralyses one of your party.
- Mudoon (dark) and Kandera (lightning) on one target.
How to win:
- Split your damage: keep the Thralls under control but never stop hitting Zorba, or the fight never ends.
- Use Hama (inherit it if you can) and fire on the Thralls for extra turns.
- Jump Thrust lowers Zorba's defence.
- Cure paralysis at once.
- A church-upgraded Dragon's Indignation hits the Thralls with fire for free.
Reward: Energy Incense. Necromancer Takedown completes and Thwart Zorba's Plan starts.
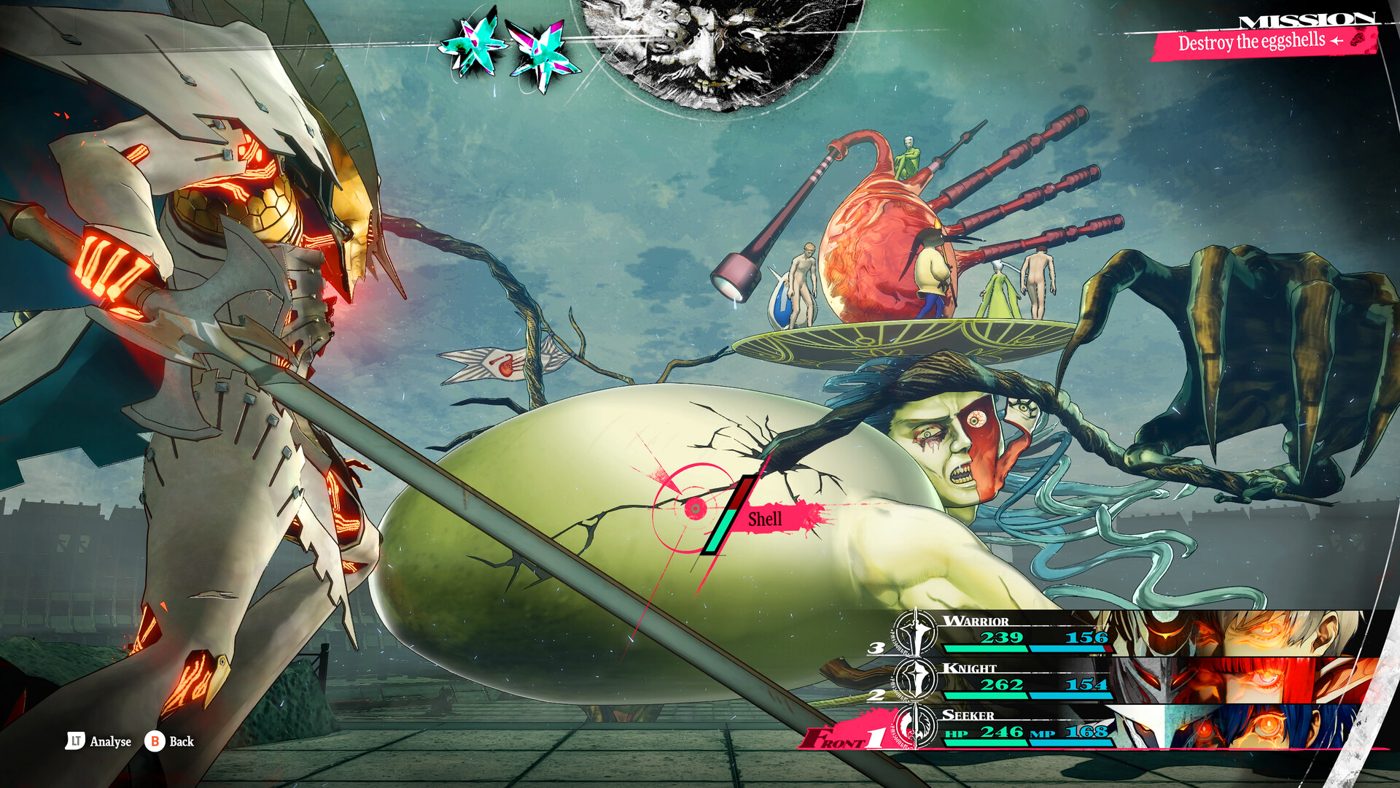
Boss: Homo Avades (straight after)
Zorba's last spell raises the Human from the courtyard. Leave the lobby to start the fight.
Homo Avades
Weak: Fire
Resists: the Heart resists every element; the Hands are weak to fire
Watch for:
- Assailants: creatures hatch in the Shell when it stands back up, and hit the whole party next turn.
- Swiping Arc: both arms across the party.
- Oblivion Dust: Forget (no skills) on one character.
- Shell Regeneration: rebuilds the Shell.
How to win:
- Break the Shell to knock it down for a turn.
- When it gets up, kill the Assailants before they act. Accept Gallica's help every time: she hits them hard.
- Burn the Hands with fire. With both gone, Swiping Arc misses and the Shell heals less.
- When the Shell is down, hit the Heart with physical attacks. It is a long fight; pace your MP.
Reward: Avades's Eggshell (sells for a lot)
After the Cathedral, to 6/28
Whatever days are left before 6/22 are yours. Then a run of story days (6/22 to 6/28) brings the Gauntlet Runner, your travelling base, and the road out of the capital. Neuras, the runner's engineer, becomes a Follower; his Bond leads to the Gunner Archetype VERIFY.
Optional: back to the Mausoleum
After the Cathedral, a bounty opens A Haunted Heirloom, and the Pale Monk's Skullduggery asks for 8 Mortaskulls. Both are in the Mausoleum: do them in one trip.
- East door firstRusted Accessory. West door: Holy Ossuary, Hero's Incense, Monk's Clogs (crawl through the coffins).
- MortaskullsEach skeleton drops one. Fight them in Squad Battles, not on the field: three skeletons in a battle give three skulls.
- East pathSpeed Incense and the Chipped Key: Upper Half down the stairs.
- West pathOnyx, Peridot, Luck Incense, a Blaze Igniter in a crawl space, and at the end the Lower Half. Gallica joins the halves into the Inner Sanctum Key.
- Boss doorSave first. After the boss, go north through the far door for the Sapper Pendant.
Kadablich
Weak: Light
Resists: repels physical attacks
Watch for:
- Curse Chant: Hex on the party (more dark damage taken, half your damage bounced back).
- Mamudo / Mudoon: dark damage.
- Life Steal: drains one character.
How to win:
- Kill the three Lv 19 skeletons first, with strike and light.
- Then no physical attacks at all: light magic only.
- Cure Hex at once; bring Purified Teacakes.
- Leave dark-weak characters on the bench.
← Part 1: Prologue · Walkthrough overview · Part 3: Martira →